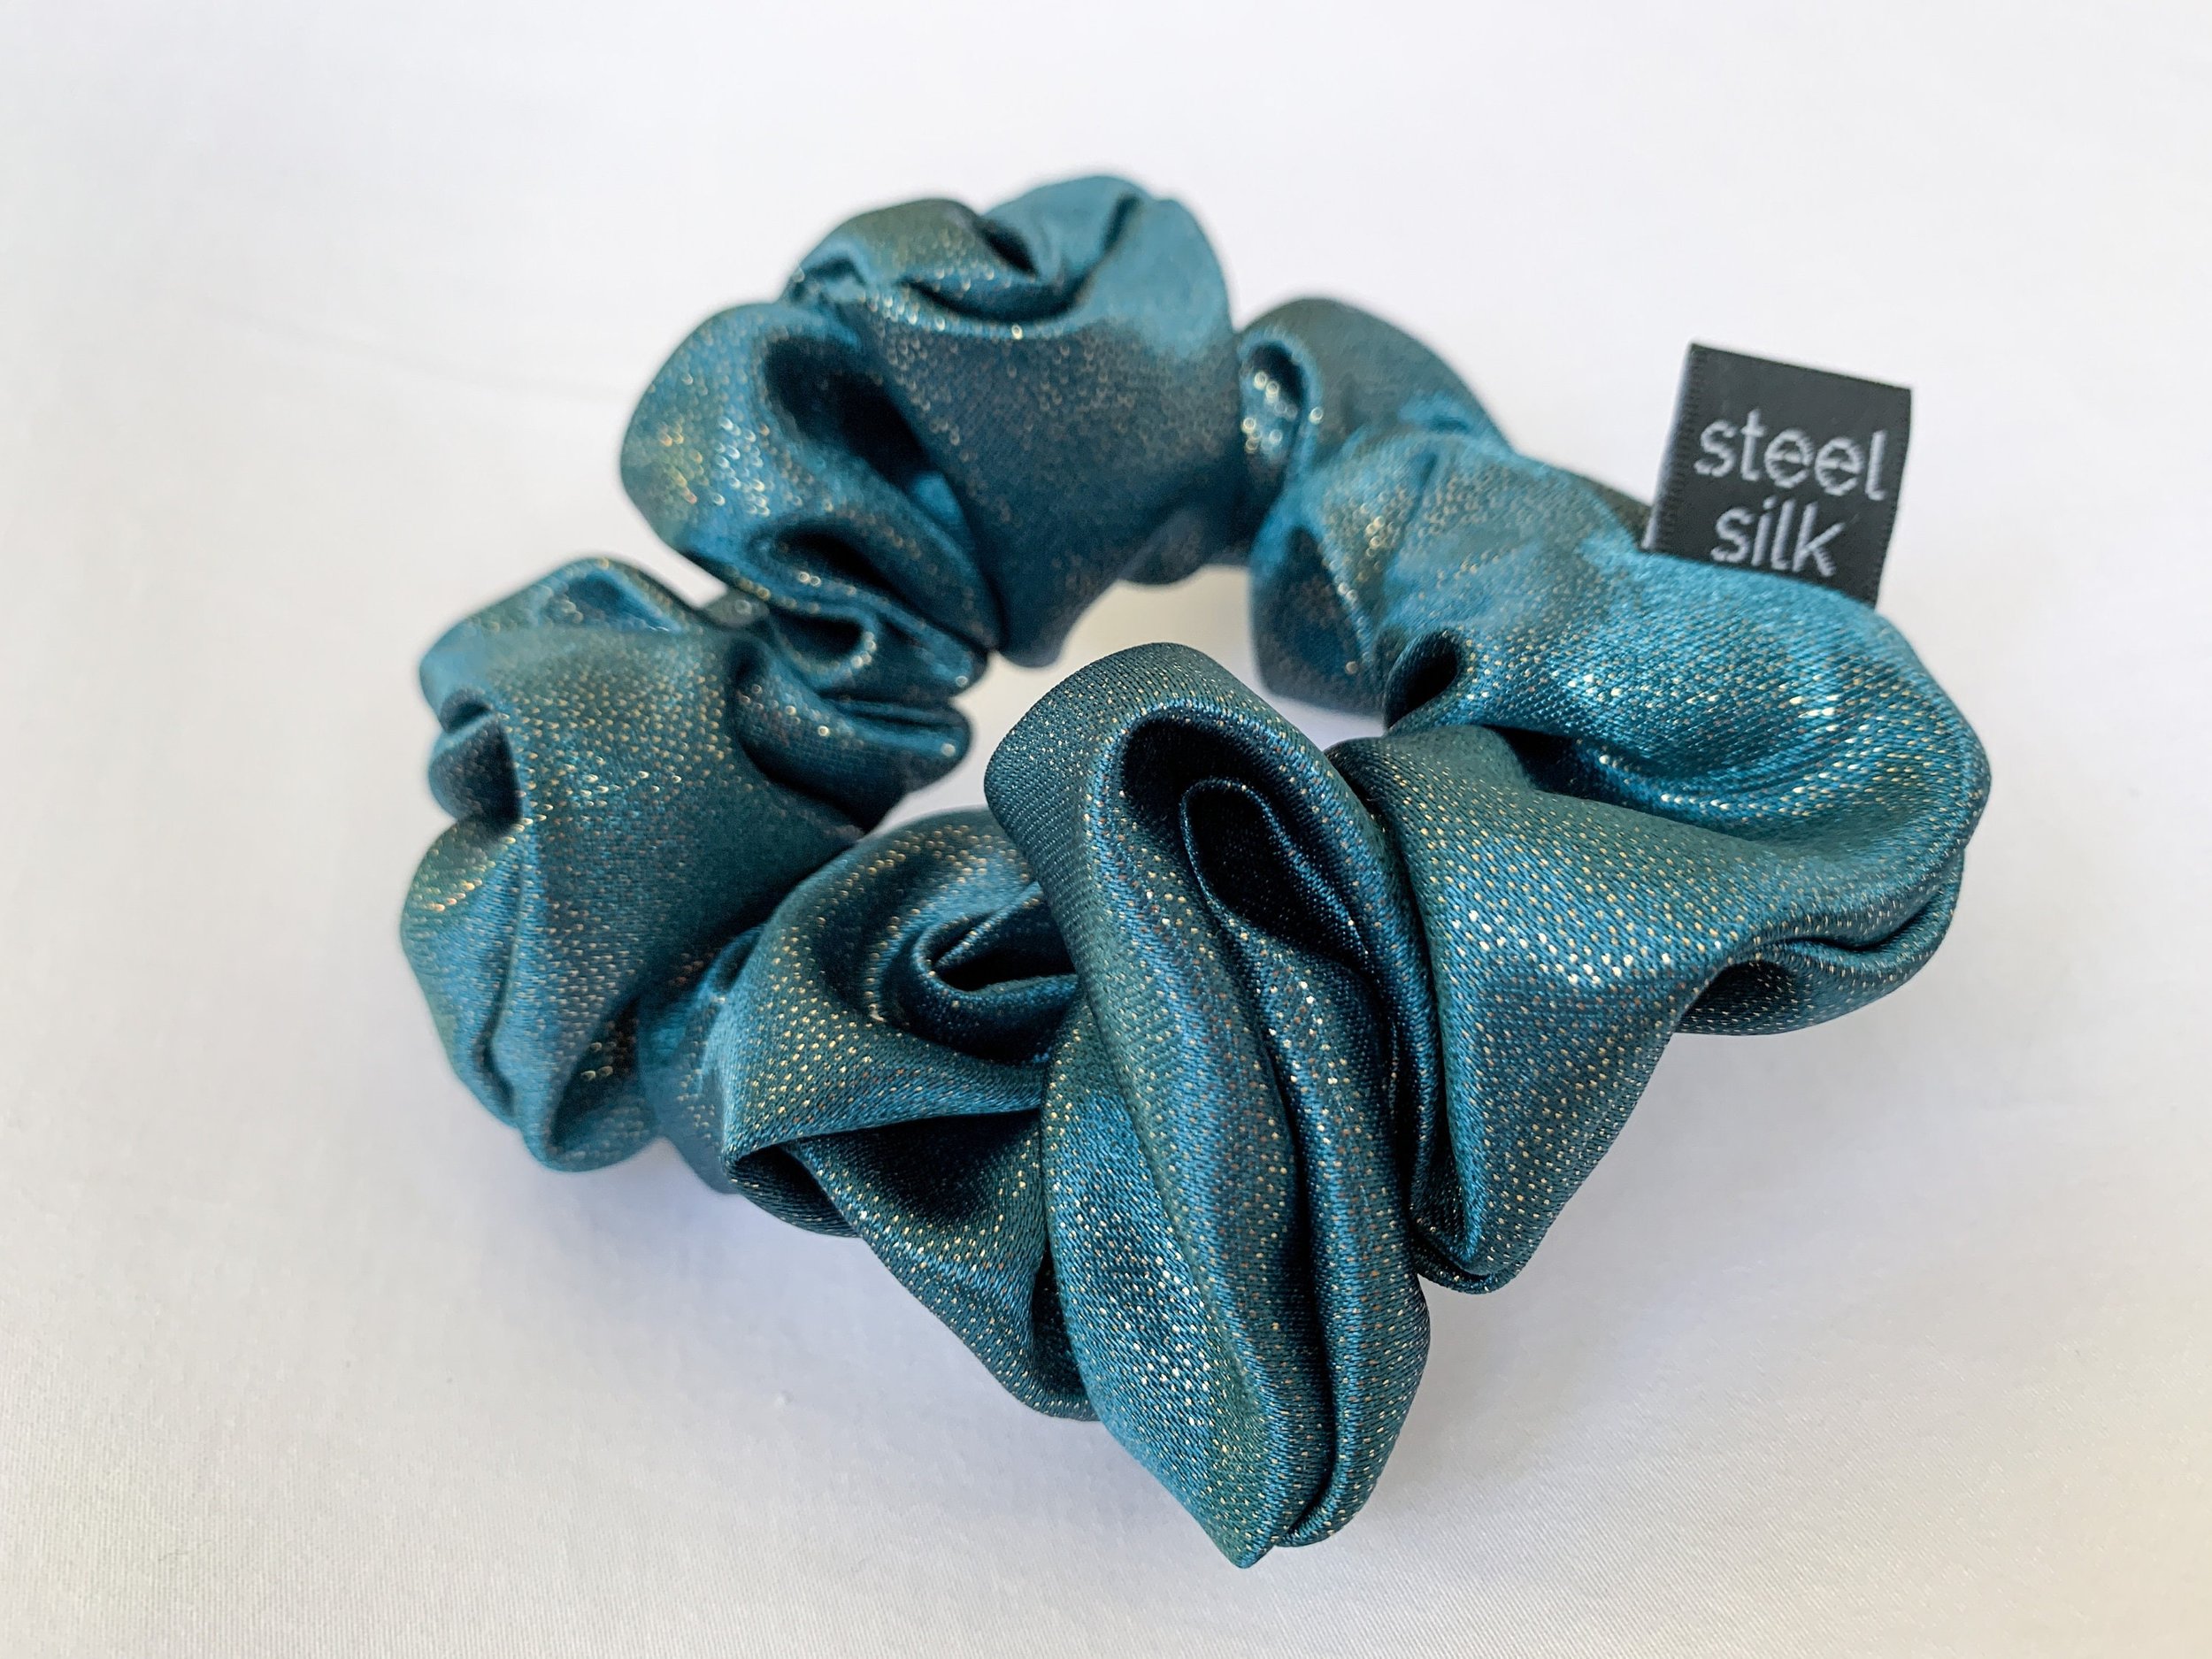
This shiny green and gold satin scrunchie is approx 5 inches wide by 2 inches thick. Holds great in everything from fine to thick hair!
Every scrunchie is hand sewn by me in Colorado. I've been sewing for 20 years and have high standards for my products!
My processing time is usually 1-2 days so you should get your order quickly. Contact me with any questions about timing or the product itself and I'd be happy to help!
Instagram: https://www.instagram.com/steel.silk/
Youtube: https://www.youtube.com/channel/UCEHsSYrpeO8YCf3MXNR8Sig/
Handmade in the USA
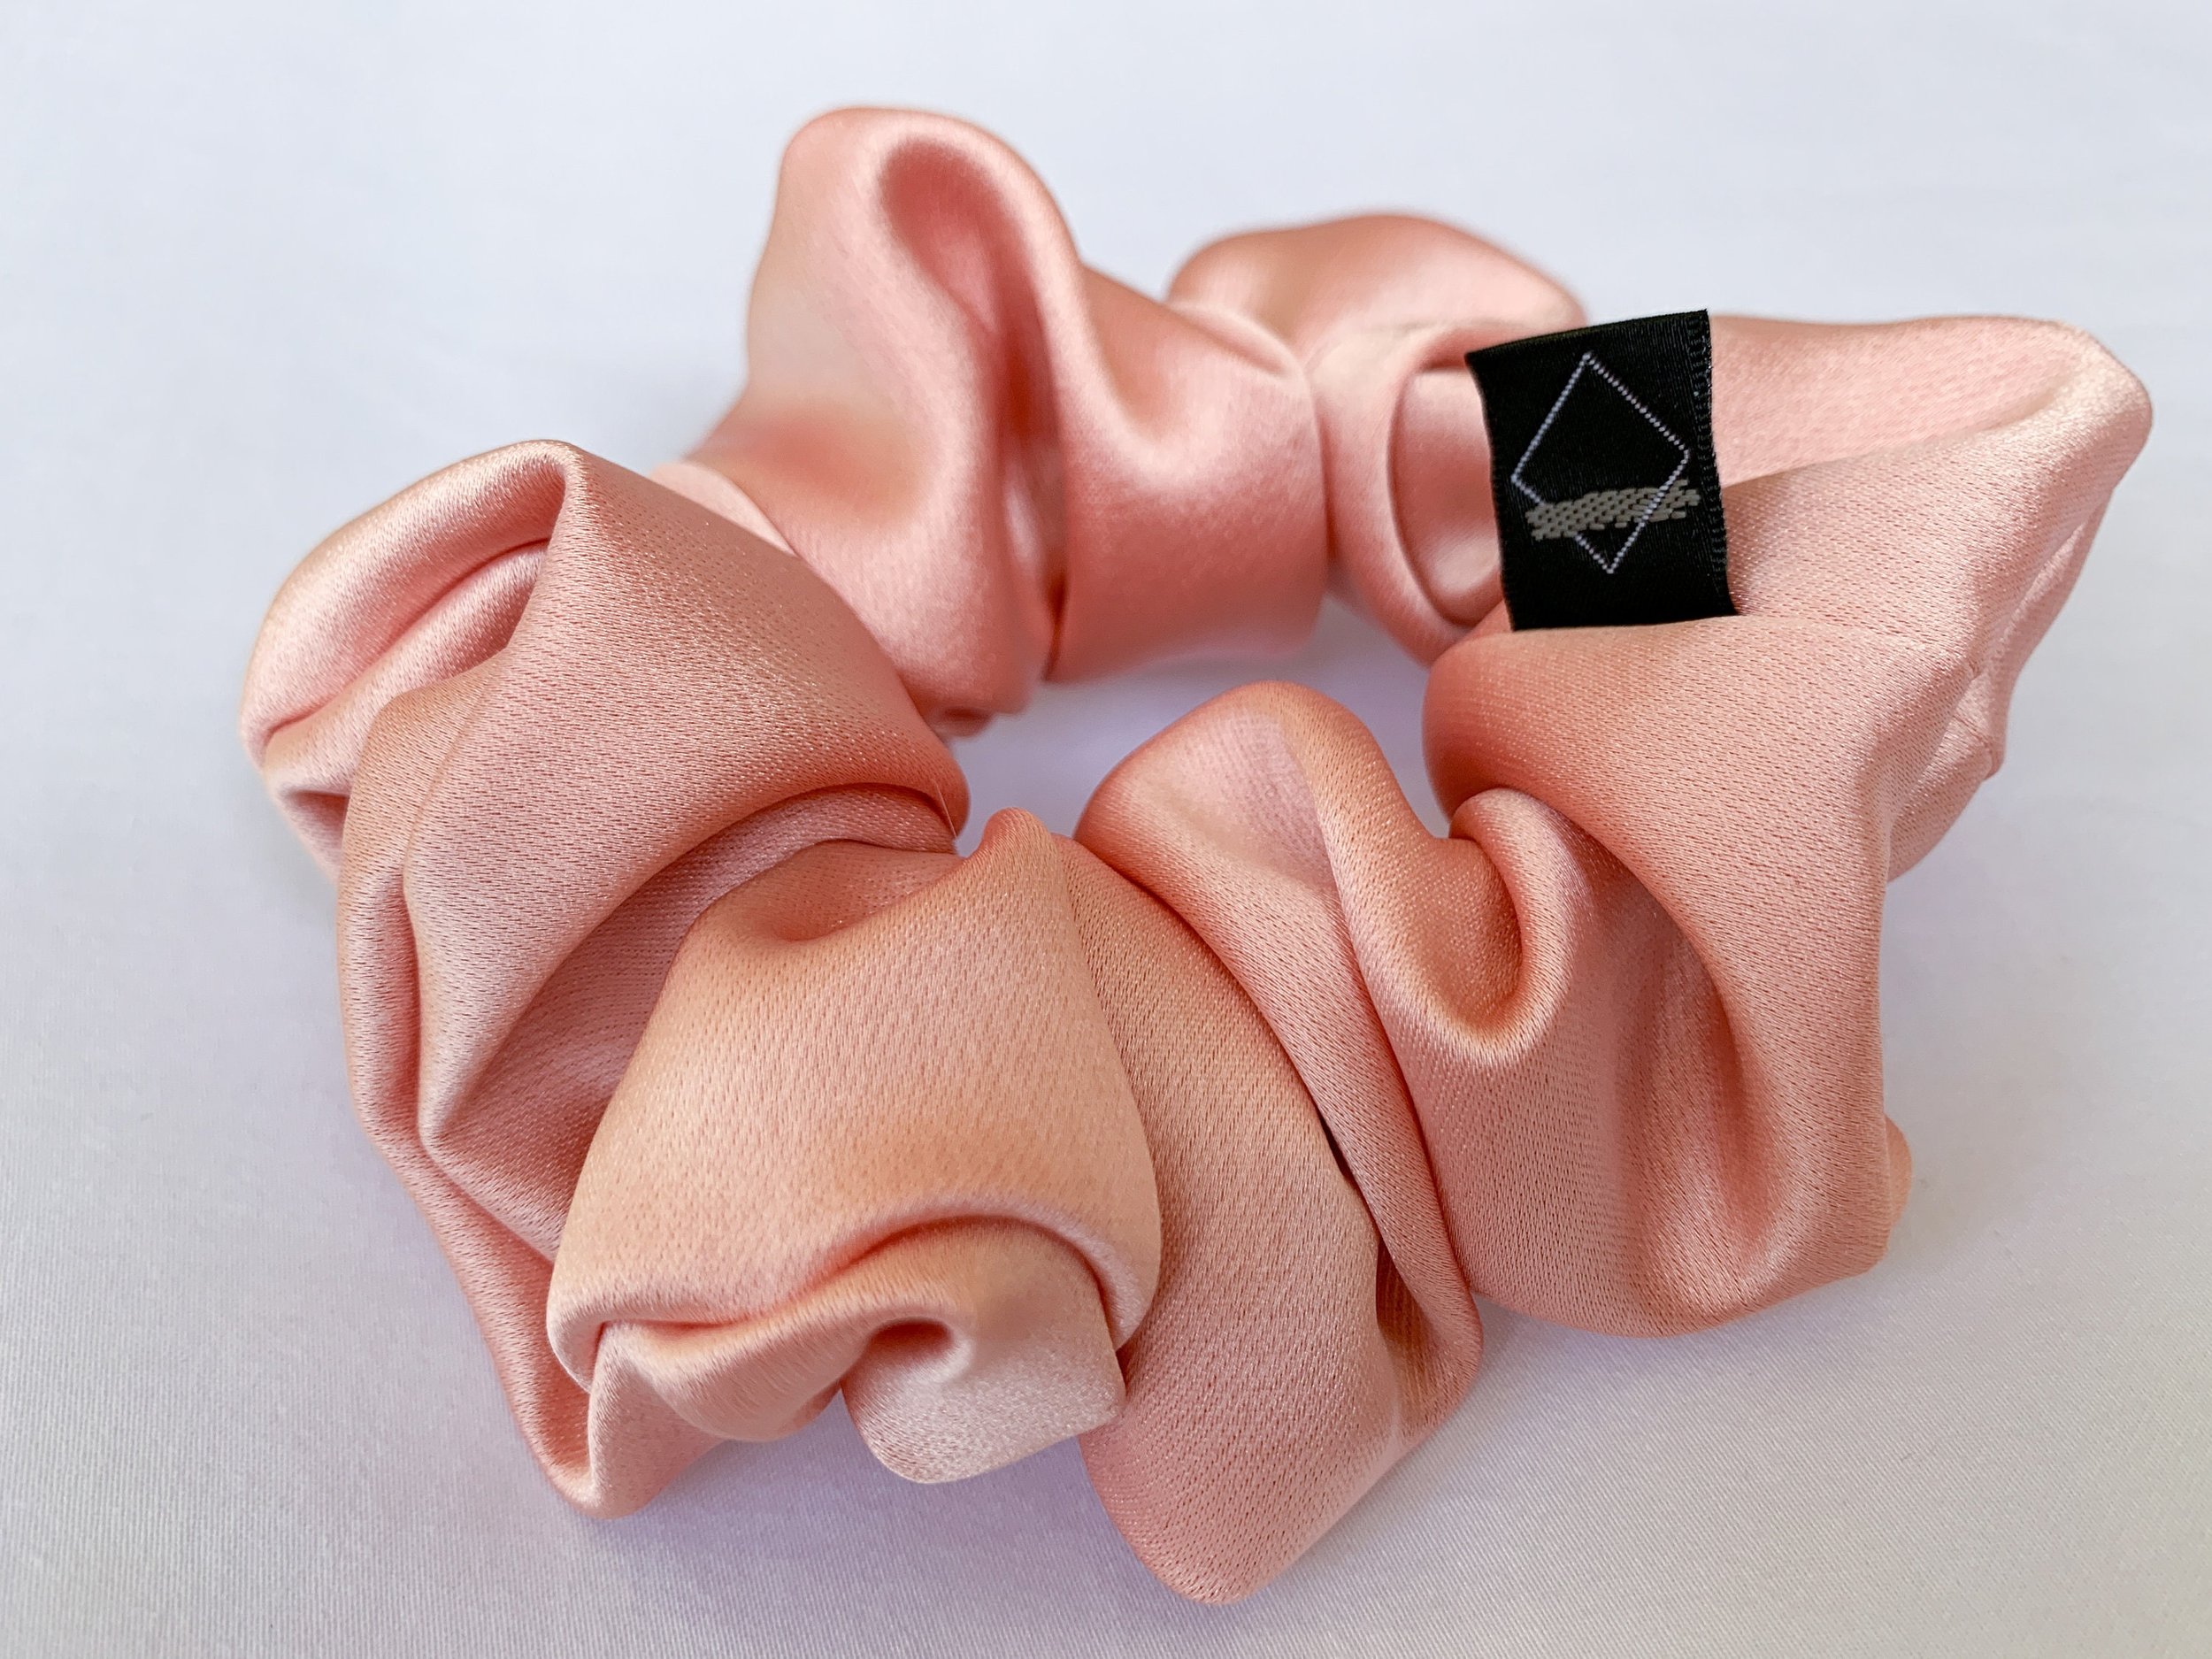
These scrunchies are approx 5 inches wide by 2 inches thick. Holds great in everything from fine to thick hair!
Every scrunchie is hand sewn by me in Colorado. I've been sewing for 20 years and have high standards for my products!
My processing time is usually 1-2 days so you should get your order quickly. Contact me with any questions about timing or the product itself and I'd be happy to help!
Instagram: https://www.instagram.com/steel.silk/
Youtube: https://www.youtube.com/channel/UCEHsSYrpeO8YCf3MXNR8Sig/
Handmade in the USA
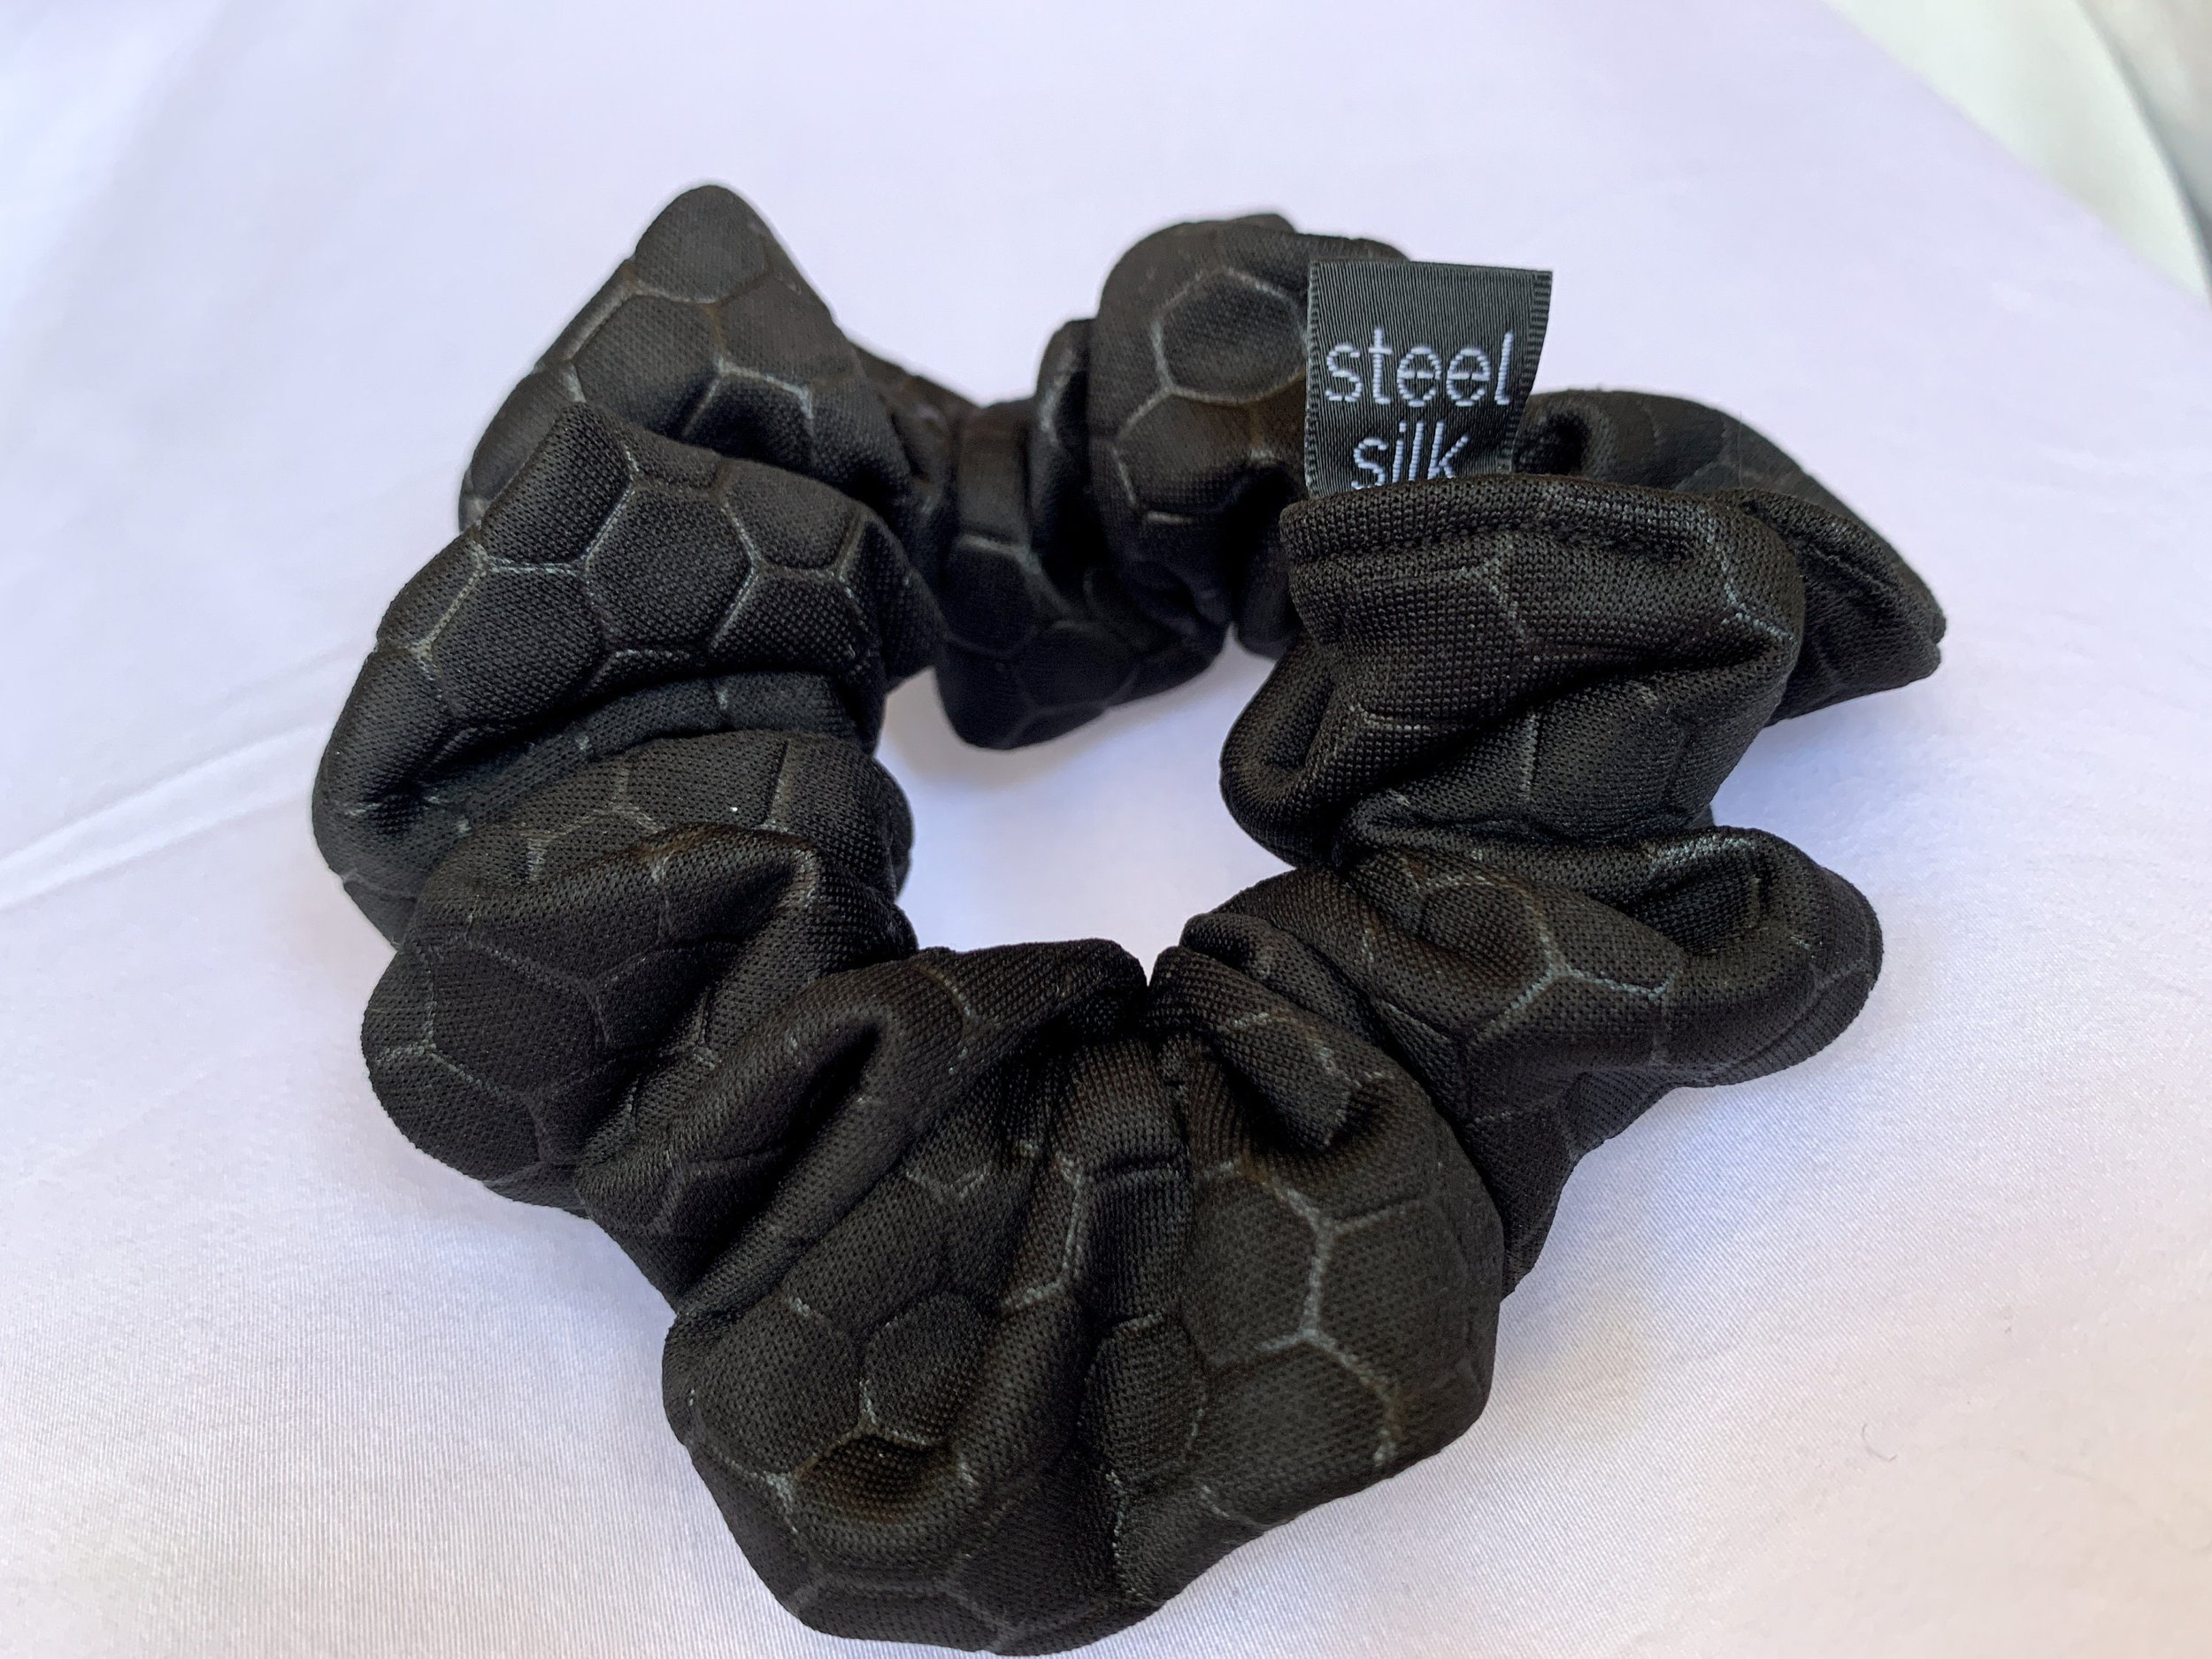
This black hexagon scrunchie is approx 5 inches wide by 2 inches thick. Holds great in everything from fine to thick hair!
Every scrunchie is hand sewn by me in Colorado. I've been sewing for 20 years and have high standards for my products!
My processing time is usually 1-2 days so you should get your order quickly. Contact me with any questions about timing or the product itself and I'd be happy to help!
Instagram: https://www.instagram.com/steel.silk/
Youtube: https://www.youtube.com/channel/UCEHsSYrpeO8YCf3MXNR8Sig/
Handmade in the USA
This brown vegan leather scrunchie is approx 5 inches wide by 2 inches thick. Holds great in everything from fine to thick hair!
Every scrunchie is hand sewn by me in Colorado. I've been sewing for 20 years and have high standards for my products!
My processing time is usually 1-2 days so you should get your order quickly. Contact me with any questions about timing or the product itself and I'd be happy to help!
Instagram: https://www.instagram.com/steel.silk/
Youtube: https://www.youtube.com/channel/UCEHsSYrpeO8YCf3MXNR8Sig/
Handmade in the USA
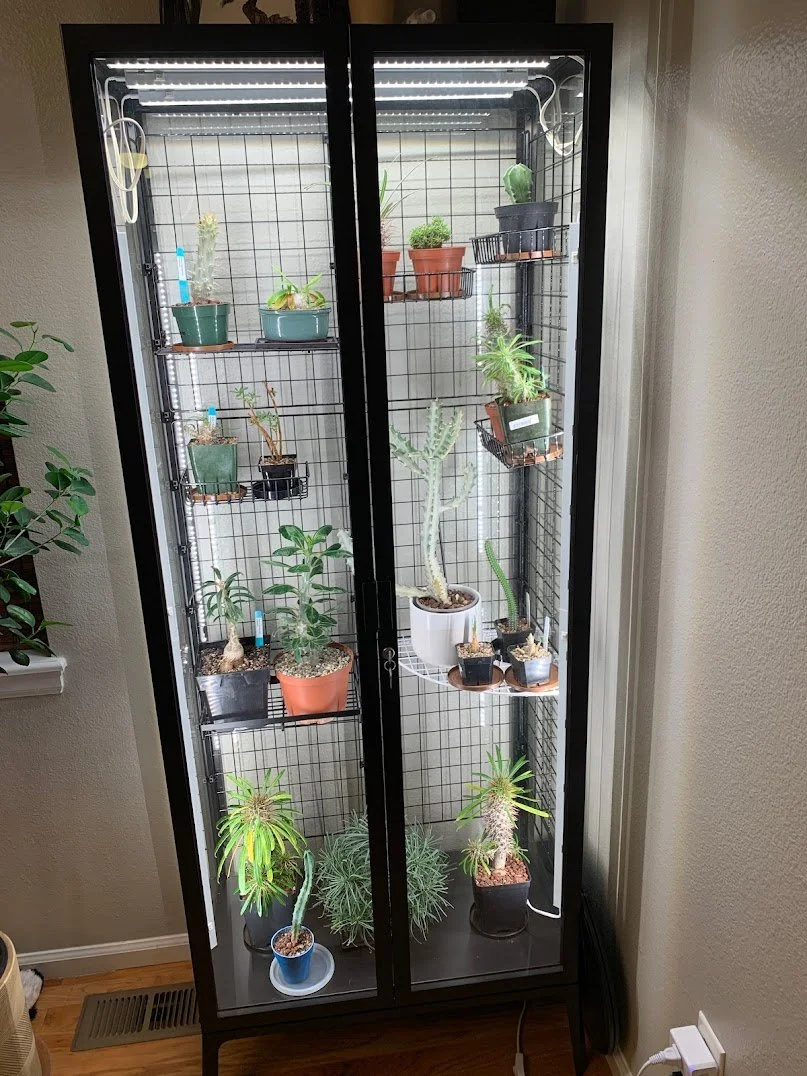
Transform your Ikea Milsbo cabinet into a vibrant indoor garden with our 3D printed kit! Our kit includes all the pieces you need to convert your Milsbo cabinet into a fully functional greenhouse. The kit is easy to assemble and customizable to fit your specific needs, making it perfect for plant enthusiasts of all levels. You'll be able to create a thriving ecosystem for your favorite plants while also adding a stylish and unique touch to your home decor.
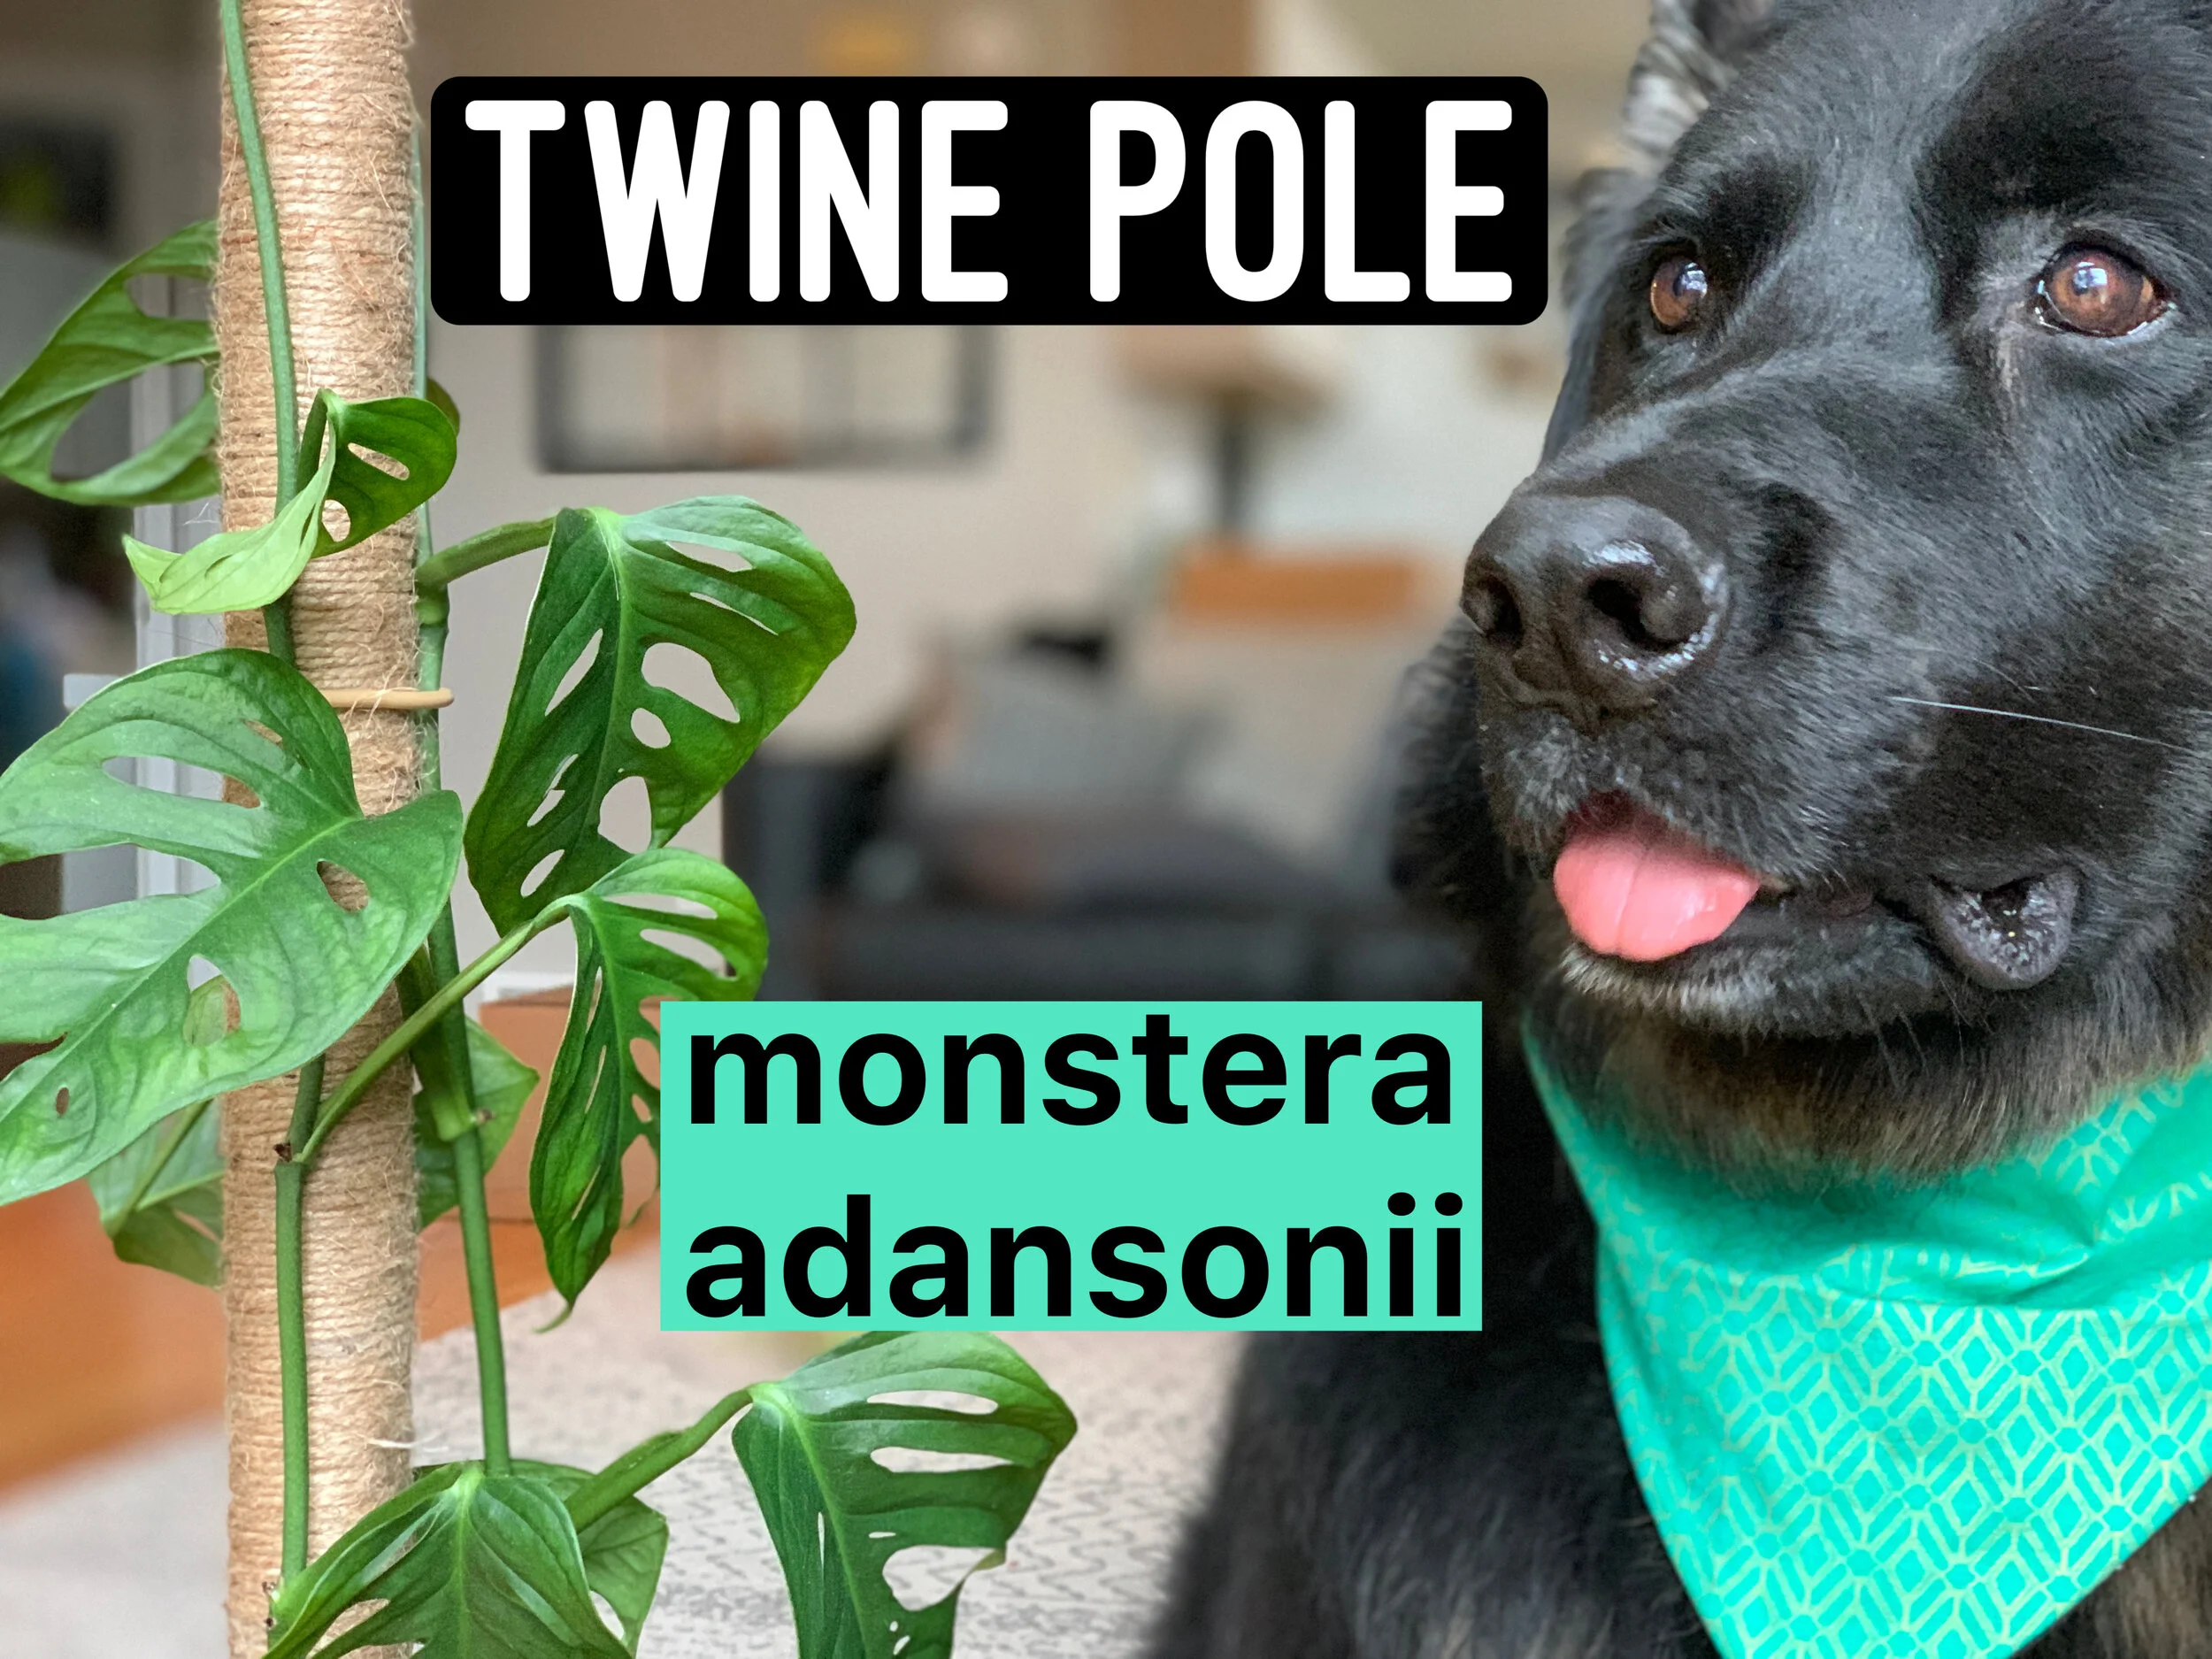
I’m making a twine pole for my monstera adansonii. I considered buying or making a moss pole but they’re fairly expensive and I don’t love the look of most of them. I’ve also read a lot of reports saying they become bug hosts which I don’t need!
Kevyn has been wanting to grow dragon fruit for quite a while now, and we finally found reasonably priced cuttings at a local nursery!
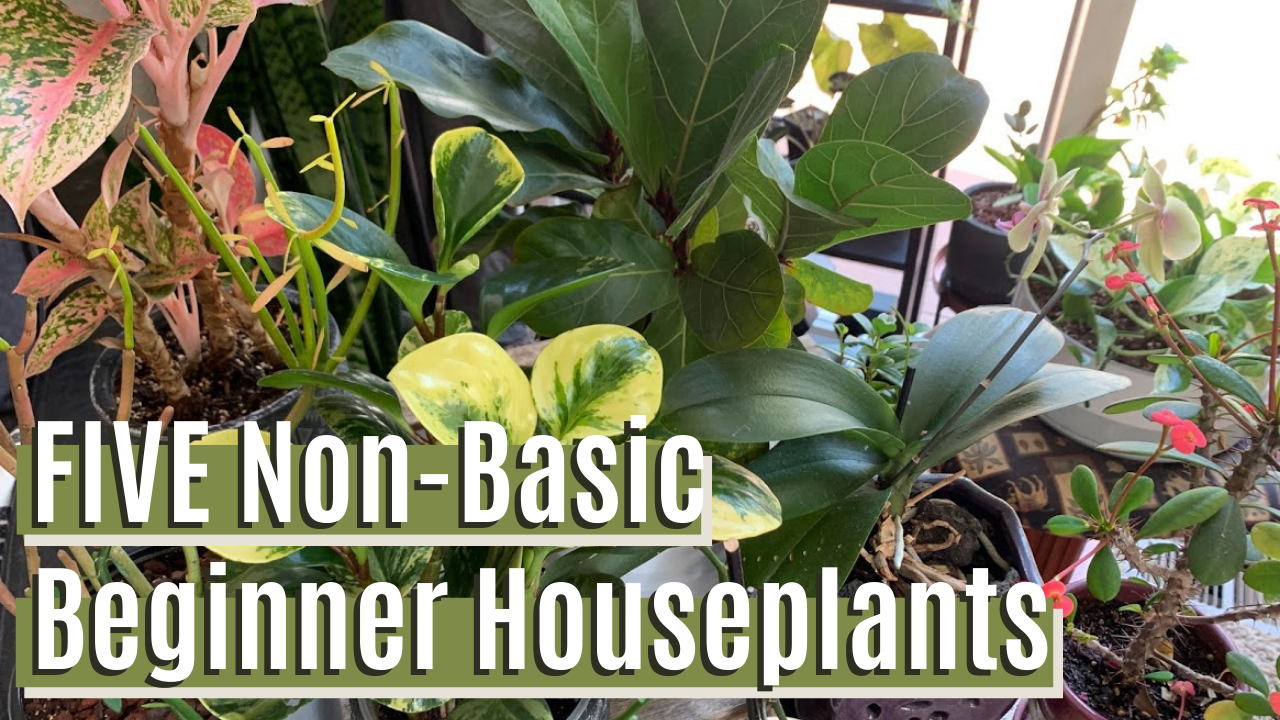
In this post I’m sharing 5 non-basic beginner houseplants that anyone can grow! Is there an unusual beginner-friendly houseplant you think I should have included? And most importantly - which one are you going to grow next??
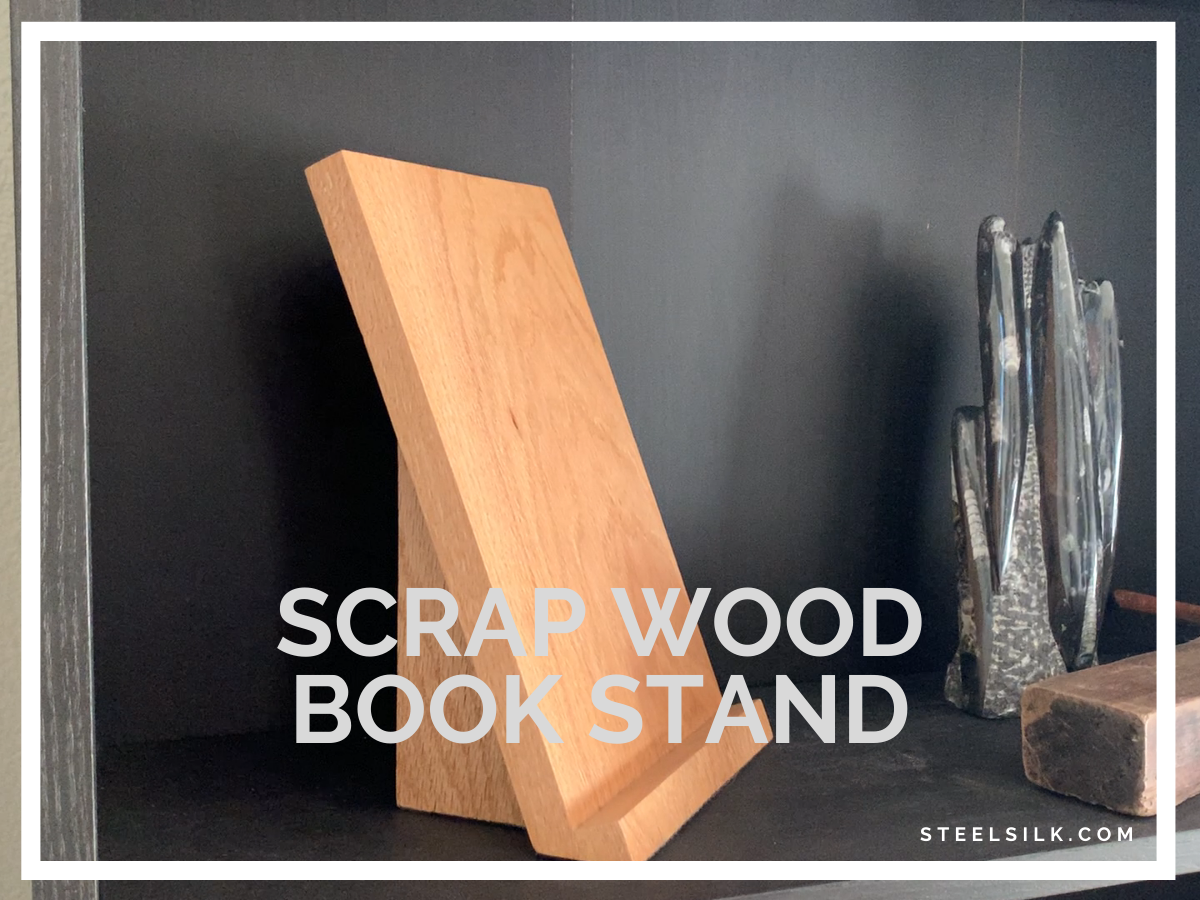
Kevyn wanted a book stand to display his favorite bonsai book and it was time to upgrade from the plate stand we had been using. It’s important when you’re displaying a book upright like this to fully support the spine and pages of the book evenly so it doesn’t bend over time (which is exactly what was happening with the plate stand).
We’ve had a pile of wood in the backyard for years and decided it was finally time to make a firewood rack. This was our first steel project (not Jeep-related) and it was a great chance for Kevyn to practice his new welding skills.
In the final episode of installing new custom exhaust on my 1993 4.0L Jeep ZJ, I prep and paint the exhaust, install it, and fire it up for the first time! The new exhaust hums and sounds great. To catch-up on the process before this, watch Part 1, Part 2, and Part 3.
While installing new exhaust on my 4.0 L, 1993 Jeep ZJ, it turned out I had not ordered enough bends and had to take a pause while waiting for shipping. While racing the weather for paint (the last good opportunity before winter fully set in was around the corner), I had to complete fit-up and welding of all of the parts.
I seem to be incapable of throwing away potential plants. I need to start giving plants away because every time I trim a plant I start the cutting in water. Usually this looks like mason jars and random vases sitting on the counter while things take root. I recently decided to make a propagation station to clean things up a little and because let’s be real - I love watching little cuttings send out their new roots.
We laid a patio in our backyard using concrete pavers. We wanted a space to enjoy on this end of our backyard and this eliminates the need to mow in a tight corner. Eventually we'll add a small patio set with a table and a couple chairs.
In the final episode of installing new custom exhaust on my 1993 4.0L Jeep ZJ, I prep and paint the exhaust, install it, and fire it up for the first time! The new exhaust hums and sounds great. To catch-up on the process before this, watch Part 1, Part 2, and Part 3.
While installing new exhaust on my 4.0 L, 1993 Jeep ZJ, it turned out I had not ordered enough bends and had to take a pause while waiting for shipping. While racing the weather for paint (the last good opportunity before winter fully set in was around the corner), I had to complete fit-up and welding of all of the parts.
After removing the old exhaust from our 1993 Jeep Grand Cherokee ZJ, the new tailpipe and muffler were mocked-up (Watch Part 1 here!). In this video, I make more progress on the exhaust as I tack together the intermediate pipe (between the header and catalytic converter).
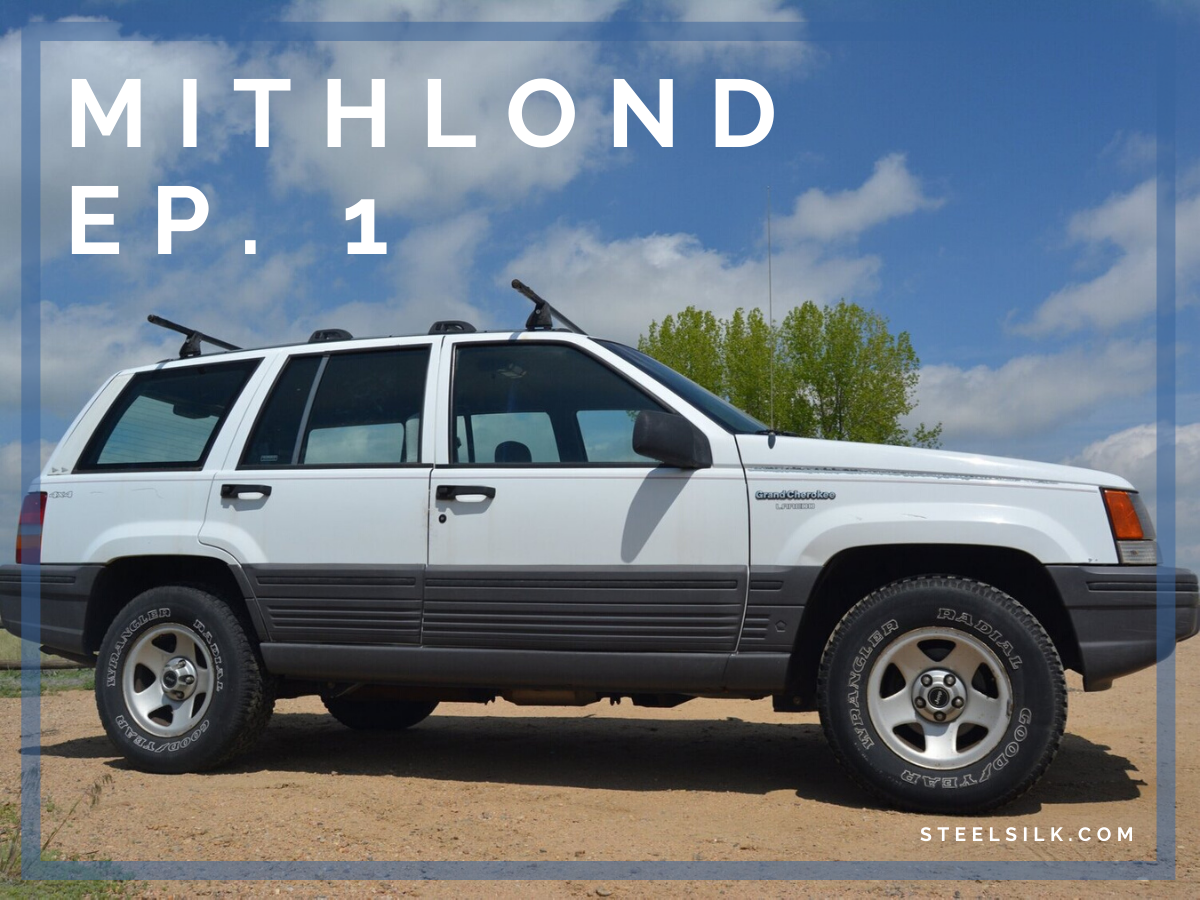
In 2019 I began the journey of rehabbing my 1993 Jeep Grand Cherokee. After 26 years and 160,000 miles, it had developed a number a problems. While beginning to track down leaks and replace broken parts, I was brought to a decision:
Replace the tires with the stock size
Lift the Jeep and make it into what it was meant to be - an off-roader
I’ve had my Jeep ZJ for a decade, and over time a few things have failed relating to the wiring. For the most part, this was limited to the passenger power lock and the rear driver power window malfunctioning, but those were manageable or easy to ignore. After the glass broke on the rear driver door, I thought it was a good opportunity to debug some of my existing wiring problems.
behind the scenes + diy projects + dog spam